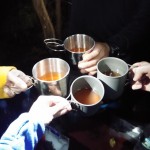
Join the crew for 3 Days of Winter Camping, Backpacking, & Campfire Cooking in Dolly Sods, West Virginia.
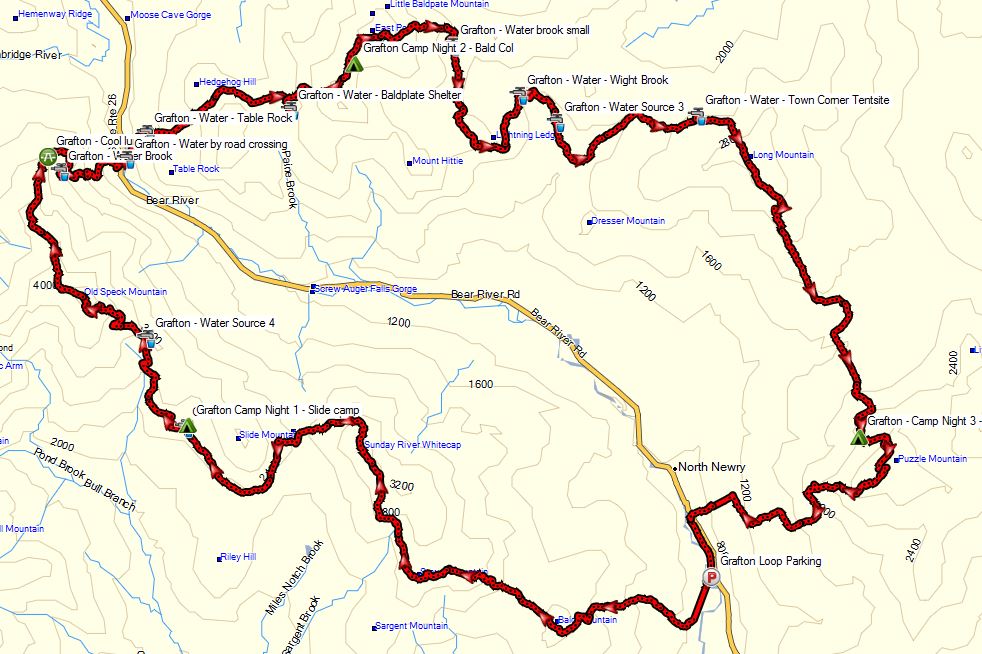
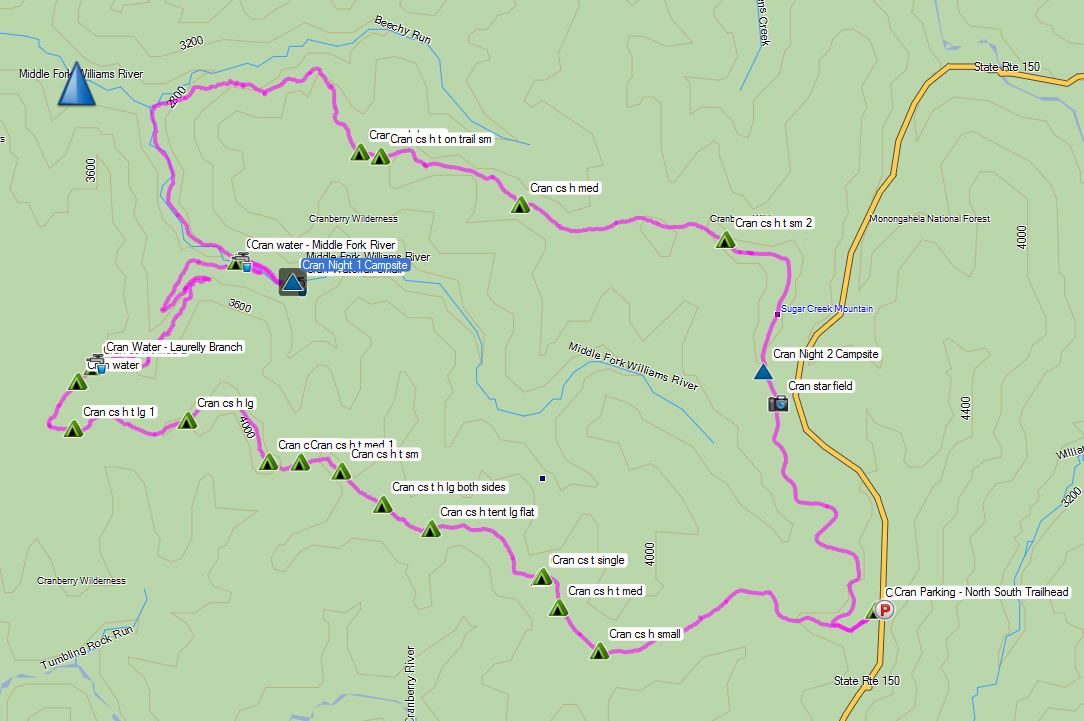
For this adventure we decided to revisit the Dolly Sods Wilderness for some early December winter camping and backpacking. Full GPS track data for this trip is available on the Trip Data page for those who like to follow along at home. Waypoints for campsites and water crossings / sources are included in the GPX file.
List of Trails Used, In order:
Day 1
Park at Red Creek Trailhead, N38° 58.372′ W79° 23.847′
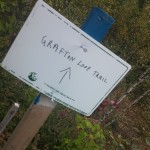
Red Creek Trail TR514
Cross Red Creek at junction with Big Stonecoal Trail
Big Stonecoal Trail TR513
Set up Camp at “Tj’s Moustache Camp”
Here’s how to find it:
Heading north on Big Stonecoal, pass the intersection with Dunkenbarger trail on your left. Not to far ahead, Big Stonecoal will make an abrupt right turn to make a water crossing across Stonecoal Run. Instead of making the turn, continue straight along the banks, towards the woods. The camp should quickly become apparent.
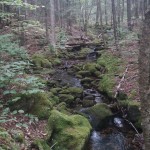
Water is obviously plentiful. Firewood is probably another story, as this looks to be a popular area in warmer weather. We were equipped with hatchets and saws to process down tress, so all was well. However, during a warm weather trip without tools, I doubt we would have found much smaller stuff just laying around.
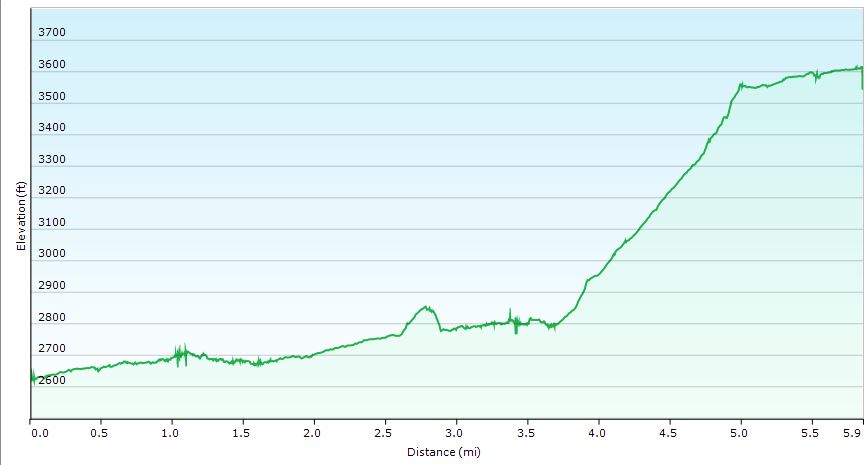
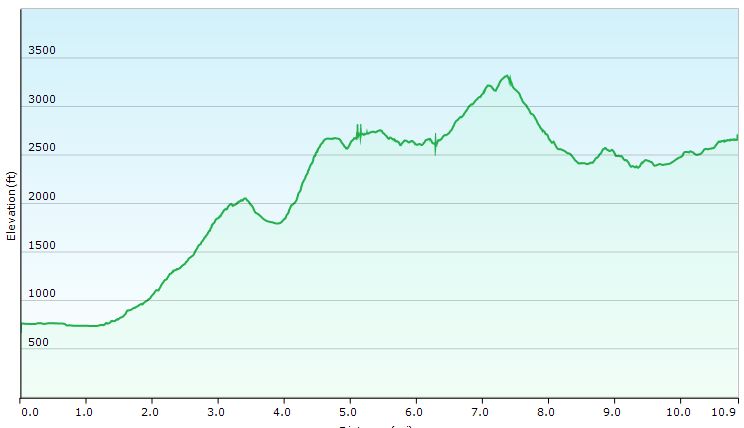
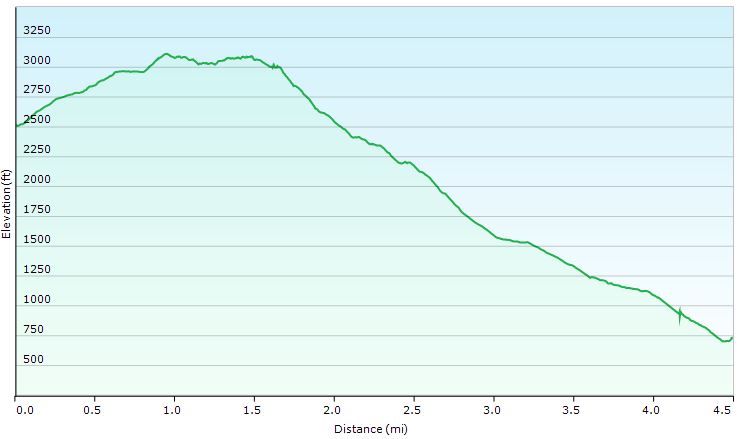
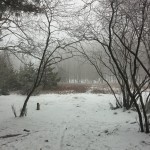
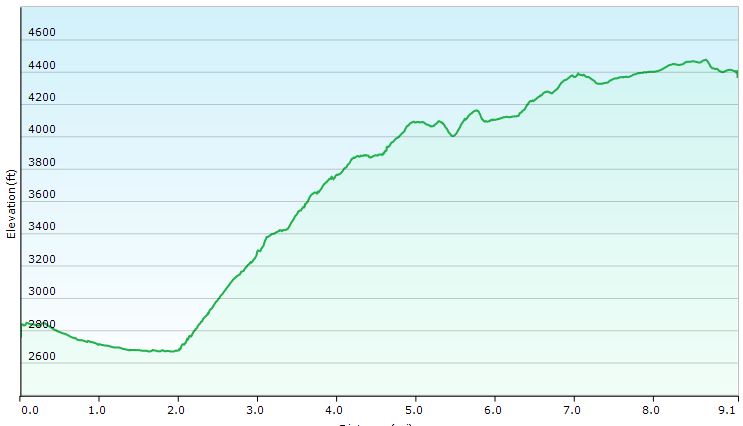
Dolly Sods Winter 2104 Day 1
Day 1 Stat Totals
Mileage: 5.85 Miles
Gross Elevation Gain: 1,444′
Gross Elevation Loss: 453″
Campsite Altitude: 3,613′
Day 2
Backtrack a little bit to previous day’s water crossing.
Continue on Big Stonecoal Trail TR514
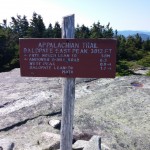
Arrive at the junction with Blackbird Knob Trail and Breathed Mountain Trail
Continue on Breathed Mountain Trail TR553
Turn left at junction with Red Creek Trail TR514
** Shortly after heading out on Red Creek Trail, we found a decent supply of running water on the trail, which was much appreciated, as there would certainly be no water up towards Lion’s Head, where we intended to camp. As it was running in December, I’m thinking this may be a good option in other months as well. No guarantees though. It’s possible this was just snow melt run-off from up above. If all else fails, you could bushwack down to Red Creek, as we had actually planned to do, prior to finding this little gem on the trail.
Continue on Red Creek Trail TR514
Bear to the right on Rocky Point Trail TR554
Turn abruptly right at the unofficial spur trail to Lions Head at N38° 59.243′ W79° 22.062′
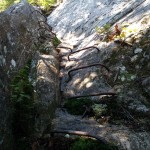
** This is not an official trail and will not be found on maps, however, it is marked with a cairn (pile of rocks). Head straight up from the cairn. There is a false summit a little ways in, but you need to actually bear to the left in order to navigate towards Lion’s Head and the eventual campsite. If you go straight towards the false summit, you’ll know it, as there is no where else to go but straight down. No worries, relax, enjoy the view and retreat towards whence you came. You’ll have to hop down some rocks, but the path should be apparent.
Head north on the Unofficial Spur Trail Towards Lion’s Head
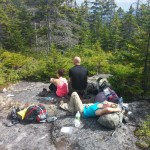
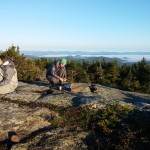
Pause to “ooooh and ahhhh” at the sights
Continue north towards camp
Setup Camp on the ridge beyond Lion’s Head
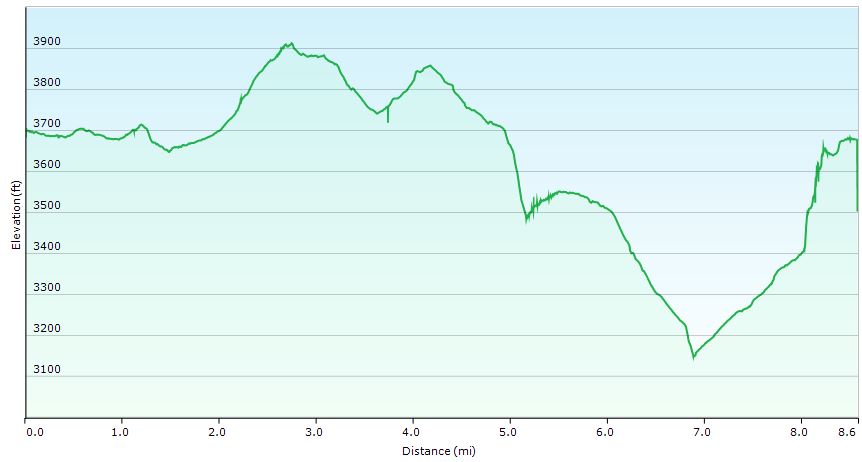
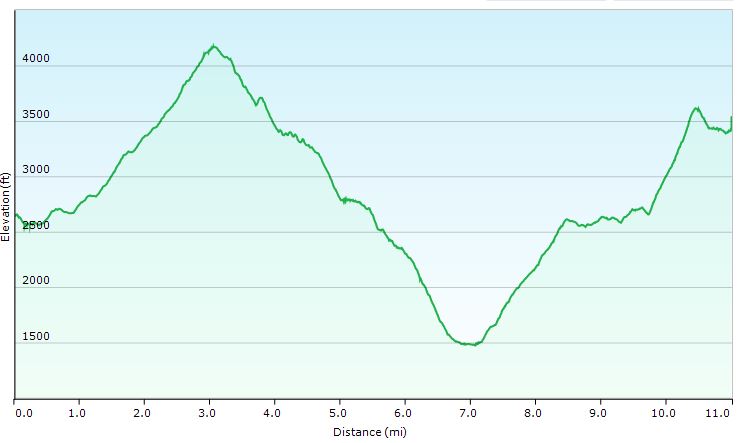
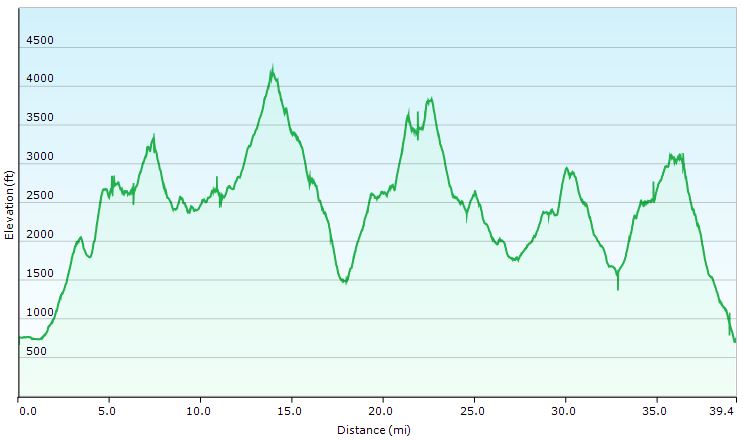
Dolly Sods Winter 2104 Day 2
Day 2 Stat Totals
Mileage: 8.6 Miles
Gross Elevation Gain: 1,083′
Gross Elevation Loss: 1,099′
Campsite Altitude: 3,678′
Day 3
Bushwack Northwest towards Rocky Point Tr
Continue on Rocky Point Tr TR554
Turn left to head south on Big Stonecoal Trail TR514
Take Red Creek Trail TR514 Back towards Parking lot and vehicle
Find a cheeseburger!
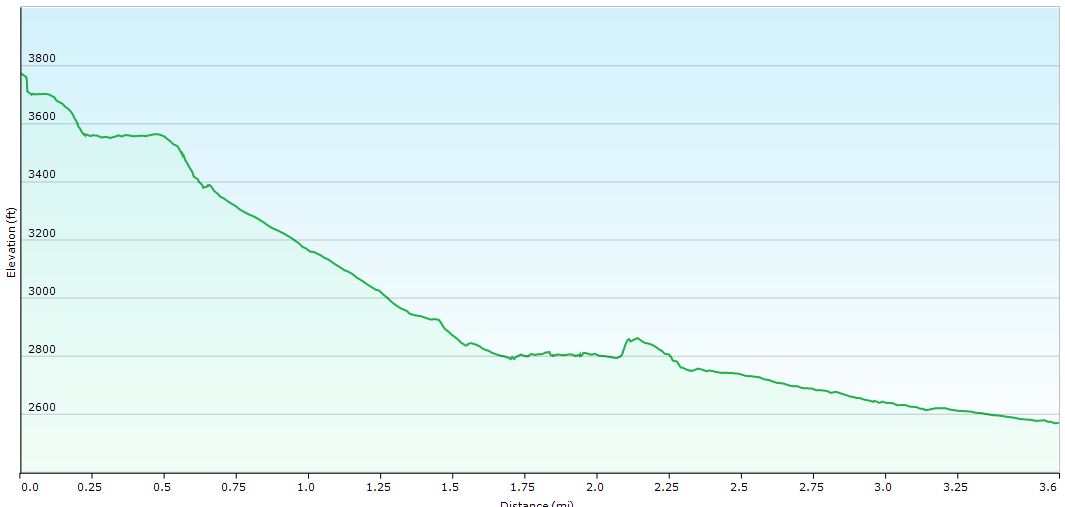
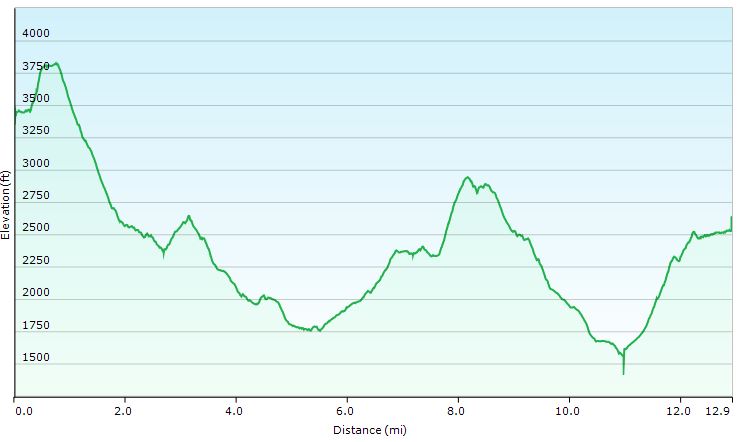
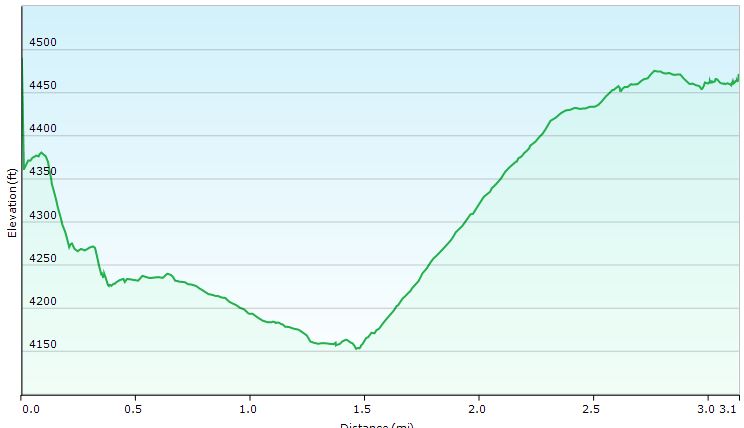
Dolly Sods Winter 2104 Day 3
Day 3 Stat Totals
Mileage: 3.6 Miles
Gross Elevation Gain: 127′
Gross Elevation Loss: 1,332′
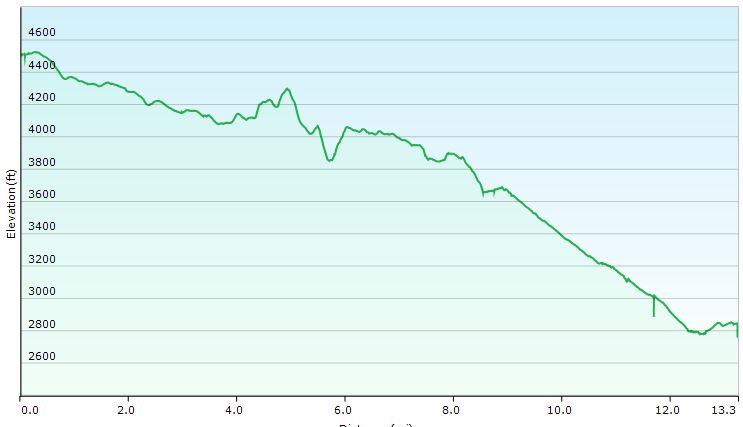
Trip Totals
Mileage: 14.49 Miles
Gross Elevation Gain: 2,654′
Gross Elevation Loss: 2,884′
Dolly Sods Trail Map Color Coded
-
- Cameron
-
- Drew
-
- Matt
-
- Mike
-

- Mike²
-
- TJ
-
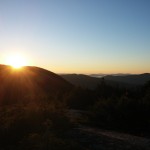
- View from fire pit, night 2
-
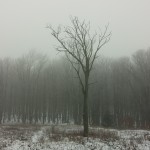
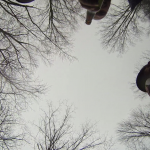
- Lone Tree by campsite, night 2
-
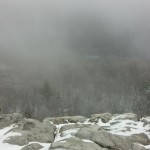
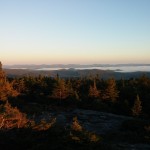
- Fog on Lion’s Head
-
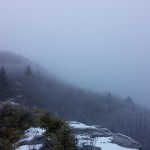
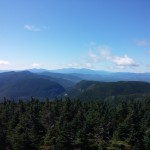
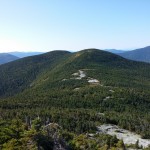
- View from Lion’s Head
-
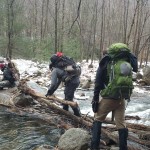
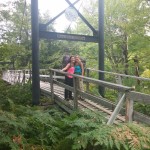
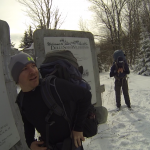
- Crossing Red Creek
-
- Mission Complete!


 trail runners