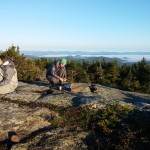
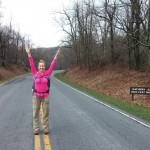
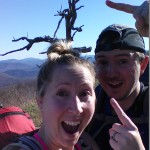
Join Sara and I for some hiking, trail cooking, and backpacking on a hammock camping trip in Shenandoah National Park.
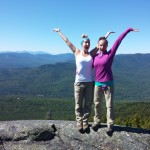
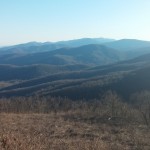
For this hiking adventure, Sara and I will be revisiting Shenandoah National park for Sara’s second dose of hammock camping out in the wild along with a healthy dose of backcountry cooking and camp food. We did a previous backpacking trip not too far from here in Shenandoah a mere two weeks before, and it went quite well. It wasn’t, however, exactly the experience that we had set out to do.
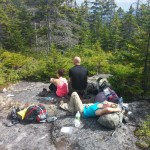
You see, for that particular trip, I may have sold it as a rather relaxed excursion. And depending on your perspective, it very well may have been just that. But for Sara, who’s most recent backpacking memories prior to that trip were that of a grueling elevation-fest through the White Mountains, it wasn’t quite the reprieve we were looking for.
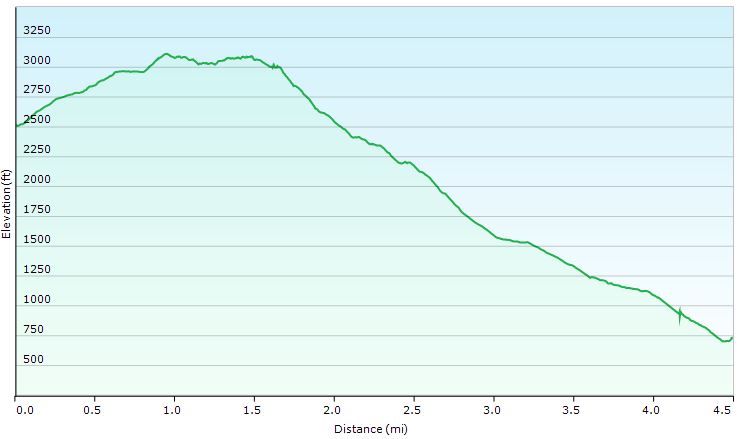
The required prescription was a high dose of low mileage, potent lounging, and dense pancakes. Thankfully, the trip seen in this video hit the spot. Below are some details and trip data for the trip, although there isn’t much of it. But that’s exactly what we were going for. Check out my Trip Data Page to get full GPS data for this trip.
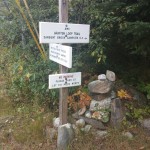
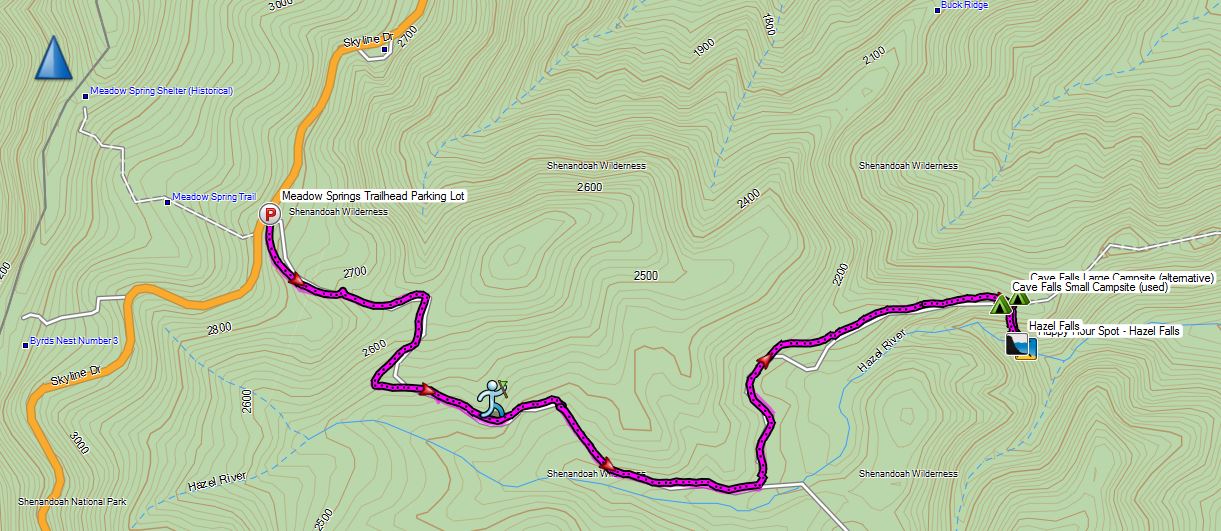
Parking: Meadow Spring Trailhead (Mile 34 on Skyline Drive)
N38° 38.304′ W78° 18.823′
Day 1 Trails Used (in order):
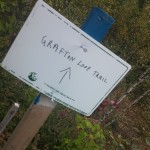
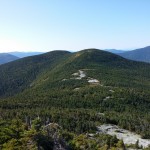
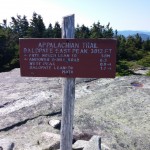
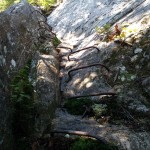
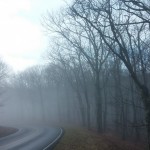
Hazel Mountain Trail
Turn Left on White Rocks Trail
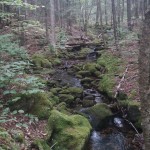
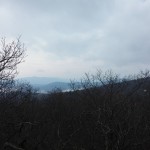
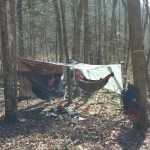
Camp along White Rocks Trail (see my GPS Data for potential campsites on either side of trail)
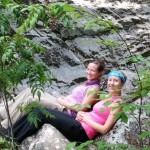
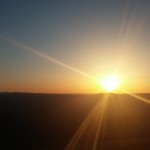
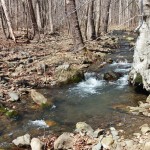
After setting up camp, take a half mile round trip down to Hazel Falls, for happy hour.
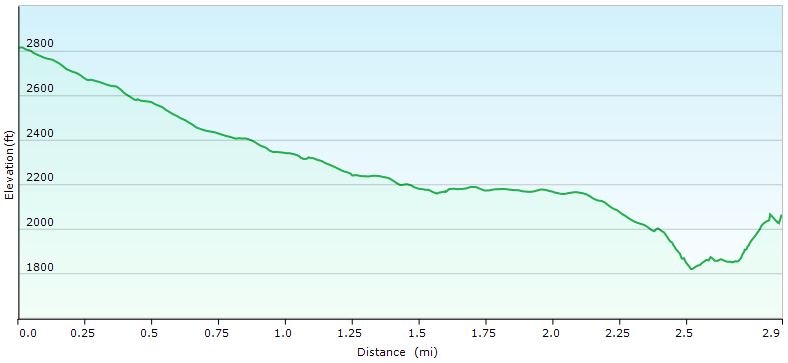
Day 1 Stats:
Mileage: 3.2 miles (includes half mile excursion from camp down to Hazel Falls and back)
Gross Elevation Gain: 390′
Gross Elevation Loss: 1,175′
Day 2 Trails Used (in order):
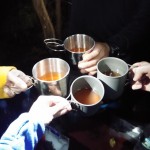
Wake Up, Eat Pancakes (this is important – trip will not work properly without this step!)
White Rocks Trail
Right on Hazel Creek Trail
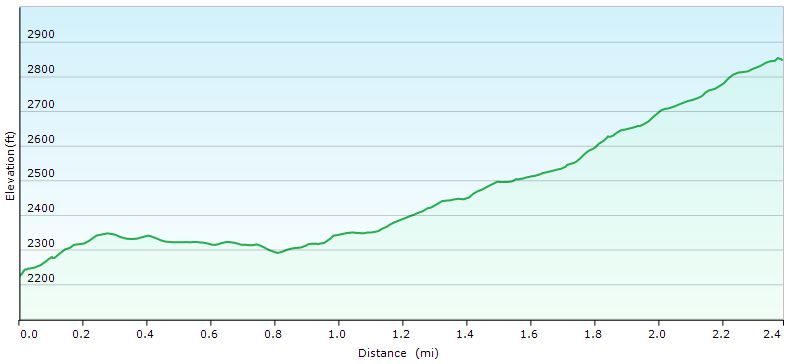
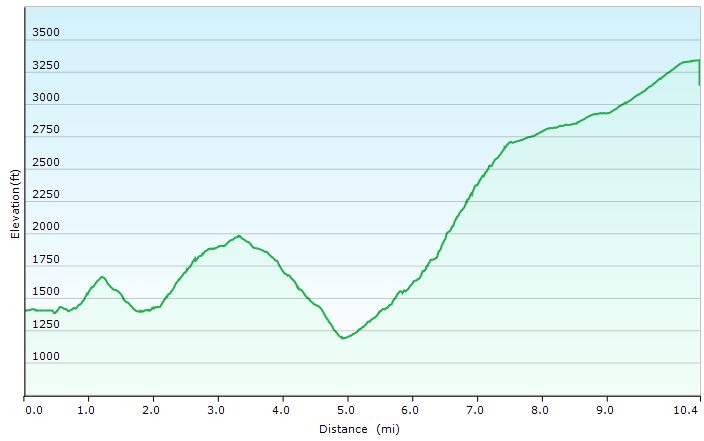
Day 2 Stats:
Mileage: 2.5 miles (not nearly enough to burn off those pancakes, you’re gonna have to go to the gym tomorrow…)
Gross Elevation Gain: 699′
Gross Elevation Loss: 75′
Total Mileage for Trip: 5.7 Miles
Notable Gear Used for Sara:
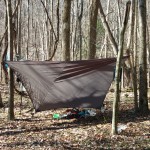
Dutchware NylonD Hammock with Aluminum Cinch Buckles & Nylon Tree Straps
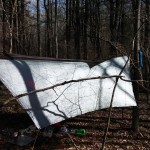
Hennessy Deluxe Tarp (10′ x 12′ 70D Polyester)
Hammock Gear Burrow 20° Top Quilt
Hammock Gear Incubator 0° Underquilt
Osprey Hornet 46 Backpack (See my Gear List using this pack here)
Thorfire BD04 USB rechargable LED Flashlight
Princeton Tech Byte Headlamp
ThruNight Titanium Keychain LED Flashlight
EMS Knitted Hat


Notable Gear Used for Shawn:
Dream Hammock Darien Ultralight Hammock (see my video on it here)
Hammock Gear Cuben Hex Tarp
Hammock Gear Burrow 40° Top Quilt
Hammock Gear Incubator 40° Underquilt w/ Epsilon 1.5 Multicam Fabric (see my video on it here)
EMS Longtrail 70 Backpack
4Sevens Preon 2 LED Flashlight
Fenix HL21 Headlamp
Generic Canister Stove
MSR Flex Skillet

Notable Backpacking Food for this Trip:
Bisquick Shake ‘n Pour Pancake Mix
Packit Gourmet Dehydrated Maple Syrup and Blueberries
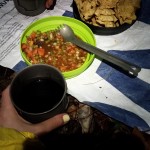
Packit Gourmet Queso Dip with a regular ol’ bag of Tostito’s Scoops (wheat, because we’re obviously healthy and stuff)
Packit Gourmet Texas State Fair Chili (I lost my mind eating this stuff on this winter video, after climbing Mt Washington)


 , 70D model, 12’x10′

 ,
,  .
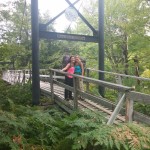
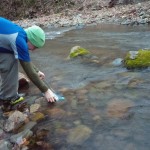
. . By then our perishable items were consumed, and as an added bonus, we had 2.5 gallons of clean drinking water.
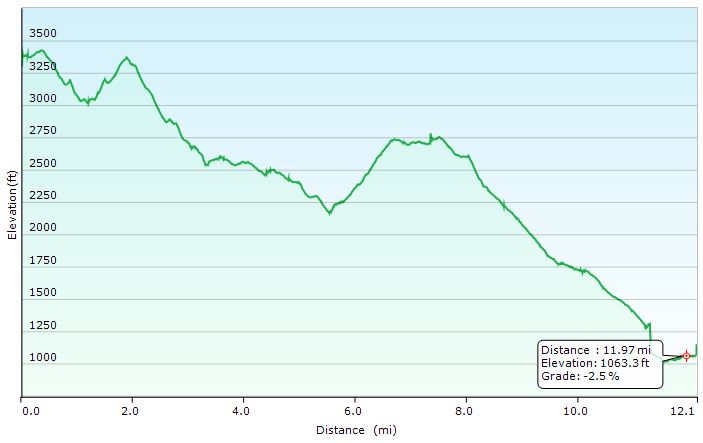


 trail runners