
Join me as I attempt a winter ascent of Mt Washington, while hammock camping in the Huntington Ravine.
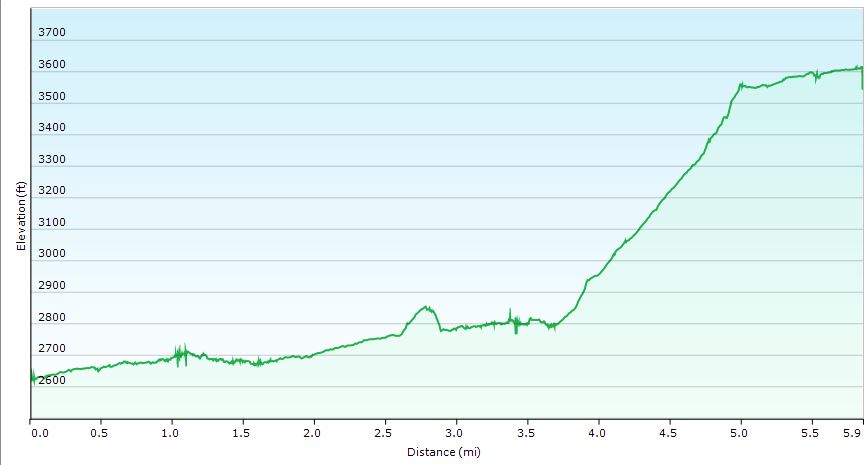
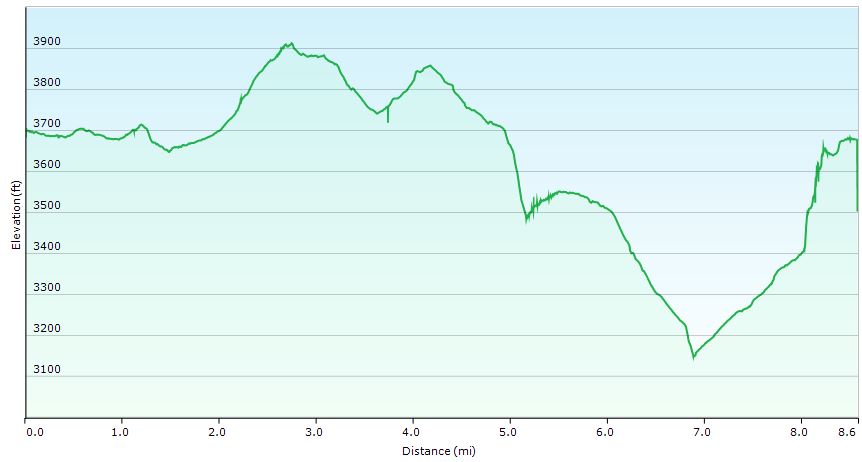
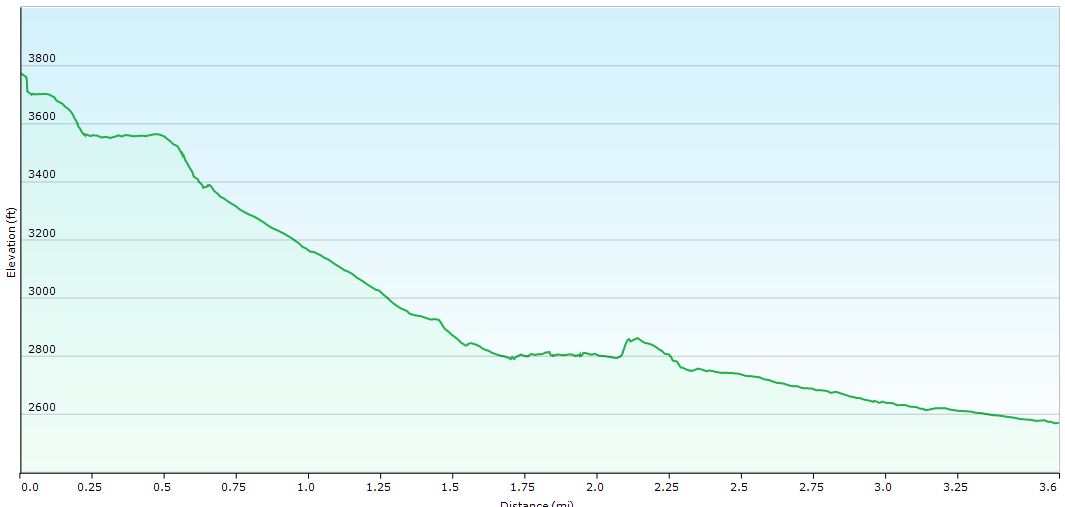
For this trip, I’ll be heading up to the White Mountains for one more winter backpacking trip before the season ends, and spring arrives. This will also be my first attempt to climb Mt Washington in winter. Okay, climb may be a bit overzealous of a term, but it will be pretty aggressive compared to my other winter hikes. Which brings up an important topic – additional gear needed. I’ll get to that a little later, but first lets take a look at where exactly I started off from and the general route I took. Full GPS track data for this trip can be downloaded on the Trip Data page.
Parking Location: Pinkham Notch Visitor Center near Jackson, New Hampshire.
There were a couple of nice things about parking at Pinkham Notch Visitor Center. First, there was no parking fee, so that’s always nice. They also leave the pack room, bathrooms and changing area open 24 hours, which I was quite happy to discover upon my arrival at 2 AM.
List of Trails Used, in Order
- Start at Tuckerman Ravine Trailhead (located right behind visitor center)
- Follow the Tuckerman Ravine Trail.
- Stop at the Fire Road Junction. Do not continue up Tuckerman Ravine! You should see a sign stating that it is closed in winter due to avalanche danger.
Take Huntington Ravine Fire Road towards Harvard Cabin. - Arrive at Harvard Cabin to setup camp and get organized.
The cabin is open from December 1st to April 1st and a caretaker is on site. It is $10 to stay in the cabin, complete with wood burning stove, or $15 to camp in the surrounding area. A big bonus of staying here is the water hole behind the cabin, which is maintained daily. This allows you to get water directly from the stream below, without the chore of melting snow. Registration is done at the Pinkham Notch Pack Room. Click here for more details on the Havard Cabin. - Once setup and geared appropriately, backtrack a bit down the Fire Road.
- Before getting back to the junction, take the Lion’s Head Winter Route on your right.
- Follow Lion’s Head Winter Route. This is a very steep trail opened as a safer alternative to Tuckerman Ravine Trail during avalanche season. Be prepared to use both hands as well as your ice axe for support. While I did not carry one, a rope could be quite useful and convenient on the way back down.
- Rejoin the Tuckerman Ravine Trail (you’re above of the avalanche zone now).
- Continue on Tuckerman Ravine Trail, crossing the summer Auto Road and on to the summit.
- Follow course in reverse to return to Harvard Cabin to camp for the night.
- On day two, hike back out via Huntington Ravine Fire Road and Tuckerman Ravine Trail.
Extra Gear used for my Mt Washington Winter Ascent
There were two pieces of gear that I brought on this trip, that I’ve never previously felt the need for on other White Mountains winter trips: Crampons and an ice axe.
The ice axe is not to be confused with an ice tool, specialized for actual ice climbing, supported by ropes and typically headed straight up a wall of ice. The ice as, or mountaineering axe as it’s also often called, is longer and straight with a pick for self arresting on one side (this is the primary reason to bring it out on the ice fields of Mt Washington), and an adze on the other side for digging and chopping tasks. The adze is mostly used for more advanced mountaineering techniques than may be required on a Mt Washington attempt, but it does come in handy around camp for setting up a home for the night.
The crampons I chose were universal strap-on crampons, so that I could use them with my regular, flexible winter hiking boots, as opposed to the typical Automatic or semi-auto crampons that require a traditional hard plastic climbing boot, which I do not own. It should also be pointed out that my usual winter traction choice, Kahtoola MICROspikes, are not crampons, nor are they in anyway comparable. I love my micro spikes, but if I had them as my only option on this trip, I probably would have been in some trouble. Or at the very least, it would have taken me twice as long to complete the route.
As seen in the video, there are some other pieces of gear that are essential for a Mt Washington winter climb. I should also reiterate that no matter how favorable the forecasted conditions are, you should always pack and carry worst case winter gear. This includes the ability to have all skin fully covered, no exceptions! Conditions can change on a dime in the Whites. Below are some highlights of gear I brought for the above treeline portion of my hike (other gear was left at my base camp below treeline).
- EMS Packable Pack (small daypack)
- EMS Ascent Mittens with fleece glove liners
- Synthetic Ski Hat
- Seirus Innovation Neofleece face mask / scarf combo
- Bolle Mojo Snow Goggles (Lemon lense color)
- Spare hat and gloves (in case others get wet or blown away)
- Garmont GTX Snow boots
- CAMP Stalker Universal Crampons
- Black Diamond Raven Ice Axe
- Nalgene 1 Liter wide mouth water bottle
Clothing worn was pretty much exactly what I’ve used on my previous White Mountains snow camping trips. I cover some of the details later in the video as well. You’ll also notice that I do not have snowshoes listed on my above treeline list. I brought a pair of MSR Denali Ascent snowshoes that I left at my base camp, and in fact, that was the only place that they were necessary. I did not find them to be need on the wind blown, ice covered summit cone of Mt Washington – crampons took care of that nicely. The section of Tuckerman Ravine trail approaching Harvard Cabin traversed daily via snowmobile by rangers checking avalanche conditions, so I really didn’t need snowshoes on that portion of the hike as well. A few steps off the trail though, and you’ll quickly find yourself in waist deep snow or more.
Notable Gear Used at Camp
- Dutchware PolyD 10′ Hammock with Dutch Titanium Cinch Buckle suspension, Dutch Clips and 12′ webbing straps. I take a look at cinch buckles in this video post.
- Hammock Gear Incubator 0 Underquilt
- Hammock Gear Burrow 0 Top Quilt – Here’s my post on both HG Quilts.
- Dutch Winter Sock for extra protection for wind and blowing snow.
- Hammock Gear Cuben Hex Tarp, 12′ – equipped with 9′ Zing-It guy lines and Dutch Wasps for quick tension adjustment.
- MSR Rapidfire Stove – Here’s video post for a closer look at the Rapidfire.
- Vargo 450ml titanium cup
- Toaks 750ml titanium pot for water boiling.
- Sea to Summit Long Handled Aircraft Aluminum Spork
- EMS Longtrail 70 Backpack
- MSR Denali Ascent Snowshoes
- Various meals and food from Packit Gourmet.
Post-Hike Burger for this Trip
“Pig Out Burger” (Smoked Pork, Bacon & Cheese) from
Yankee Smokehouse in Ossipee, NH.
-
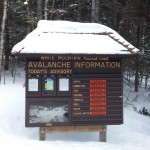
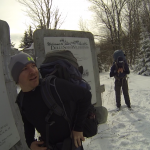
- The Huntington Ravine Avalanche Info Board
-
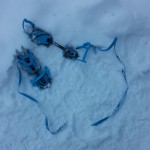
- My CAMP Stalker Universal Crampons
-
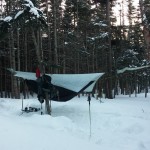
- Winter Hammock Camp setup near Harvard Cabin
-
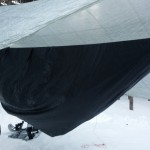
- The Dutch Winter Sock, keeping my PolyD Hammock Toasty
-
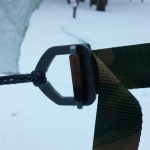
- Close up Look at the Dutch Titanium Cinch Buckle
-
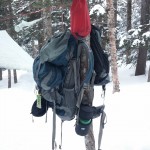
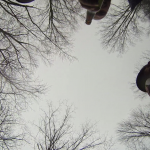
- A Tree Full of Gear
-
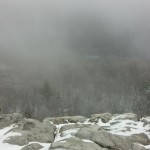
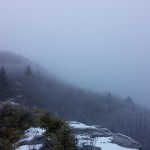
- Looking down into Tuckerman Ravine
-
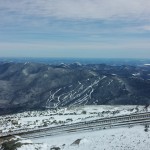
- A Sweeping View from the Mt Washington Observation Deck
-
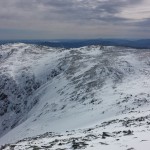
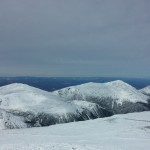
- A Frozen Presidential Range
-
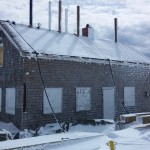
- Chains Holding Down one of the Summit Buildings
-
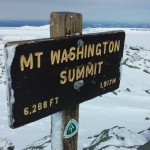
- Mt Washington Summit Sign
-
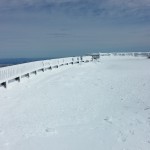
- Rime Ice Covered Railing on the Observation Deck
-
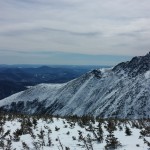
- A View of the Wildcat Range, with Cog Railroad Track in Foreground
-

- The Yankee Smokehouse, My Post-Hike Burger Spot
-
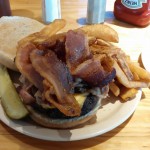
- A Glorious Post-Hike Cheeseburger, Covered in Bacon and Smoked Pork
-
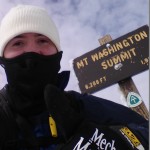
- Mission Complete!

 (1 pair)


 , folding

 w/ battery


 – Full Size


 Medium
 – 25 feet


 – Lt Wgt (2 pair)